Basic components of genotyping:
- The engineered primer (the hard part): a genetic sequence responsible for a measurable/observable phenotypic trait (we're going to presume you have been provided 5' to 3' sequence that must be fabricated into a primer sequence that needs to be ordered.
- A restriction enzyme (if applicable, more on the purpose of restriction digest later on): variable temperature water bath
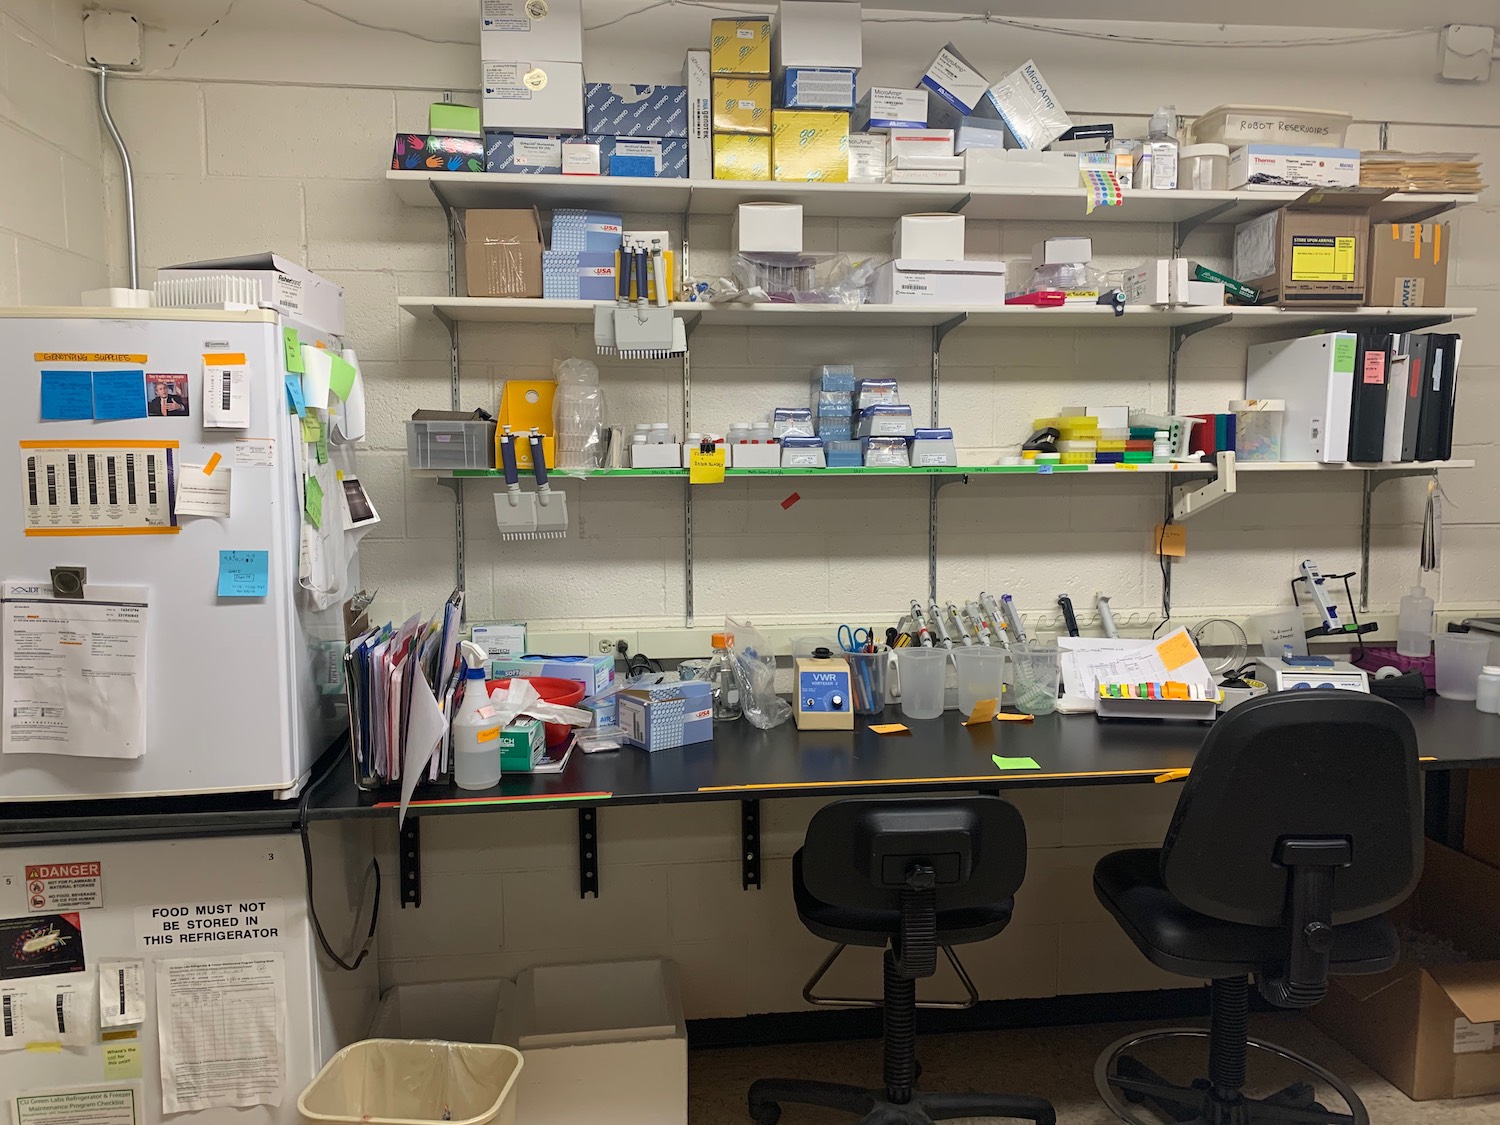
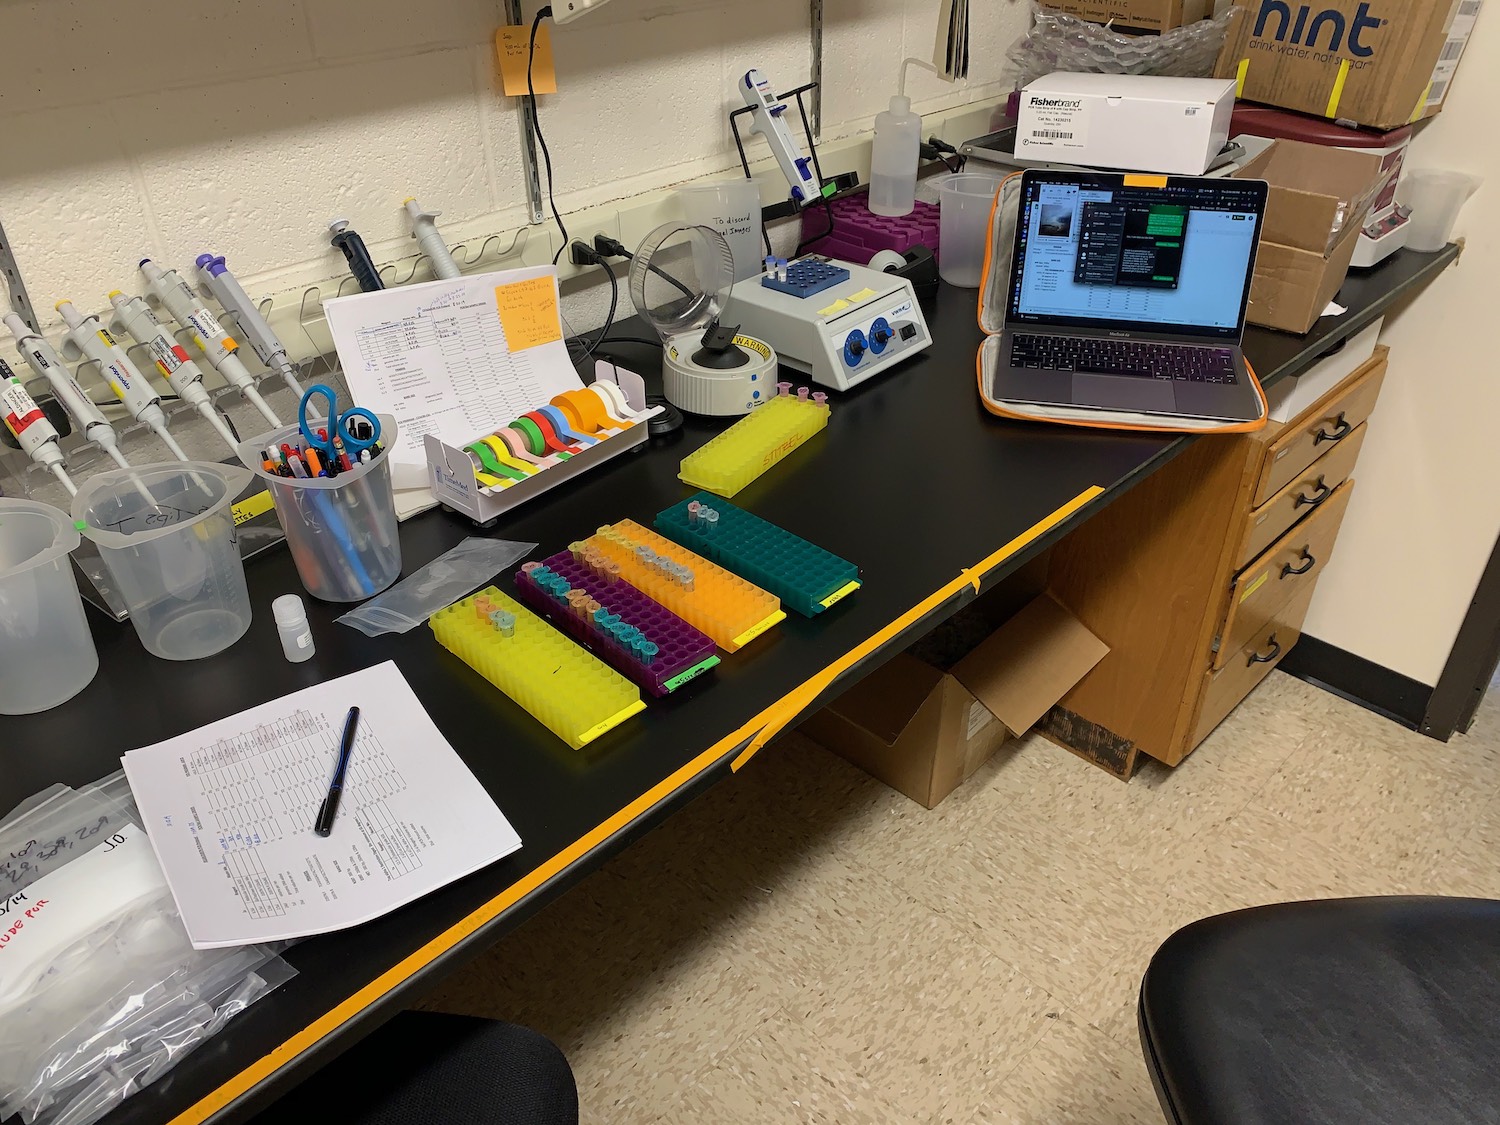
- Equipment:
- 0.5-2 µL or 0.5-10 µL, 20-200/300 µL, 100-1000 µL micropipette men for measuring out liquids
- 1.5/1.7 mL sterile (DNA/RNA/DNAse/RNAse-free tubes)
- 0.2 mL PCR tubes with caps. I recommend the strip of tubes that are connected together
- A PCR tube cassette (for holding your tubes when preparing/loading/keeping them organized.
- A thermal cycler for amplification
- A shaker/rocker
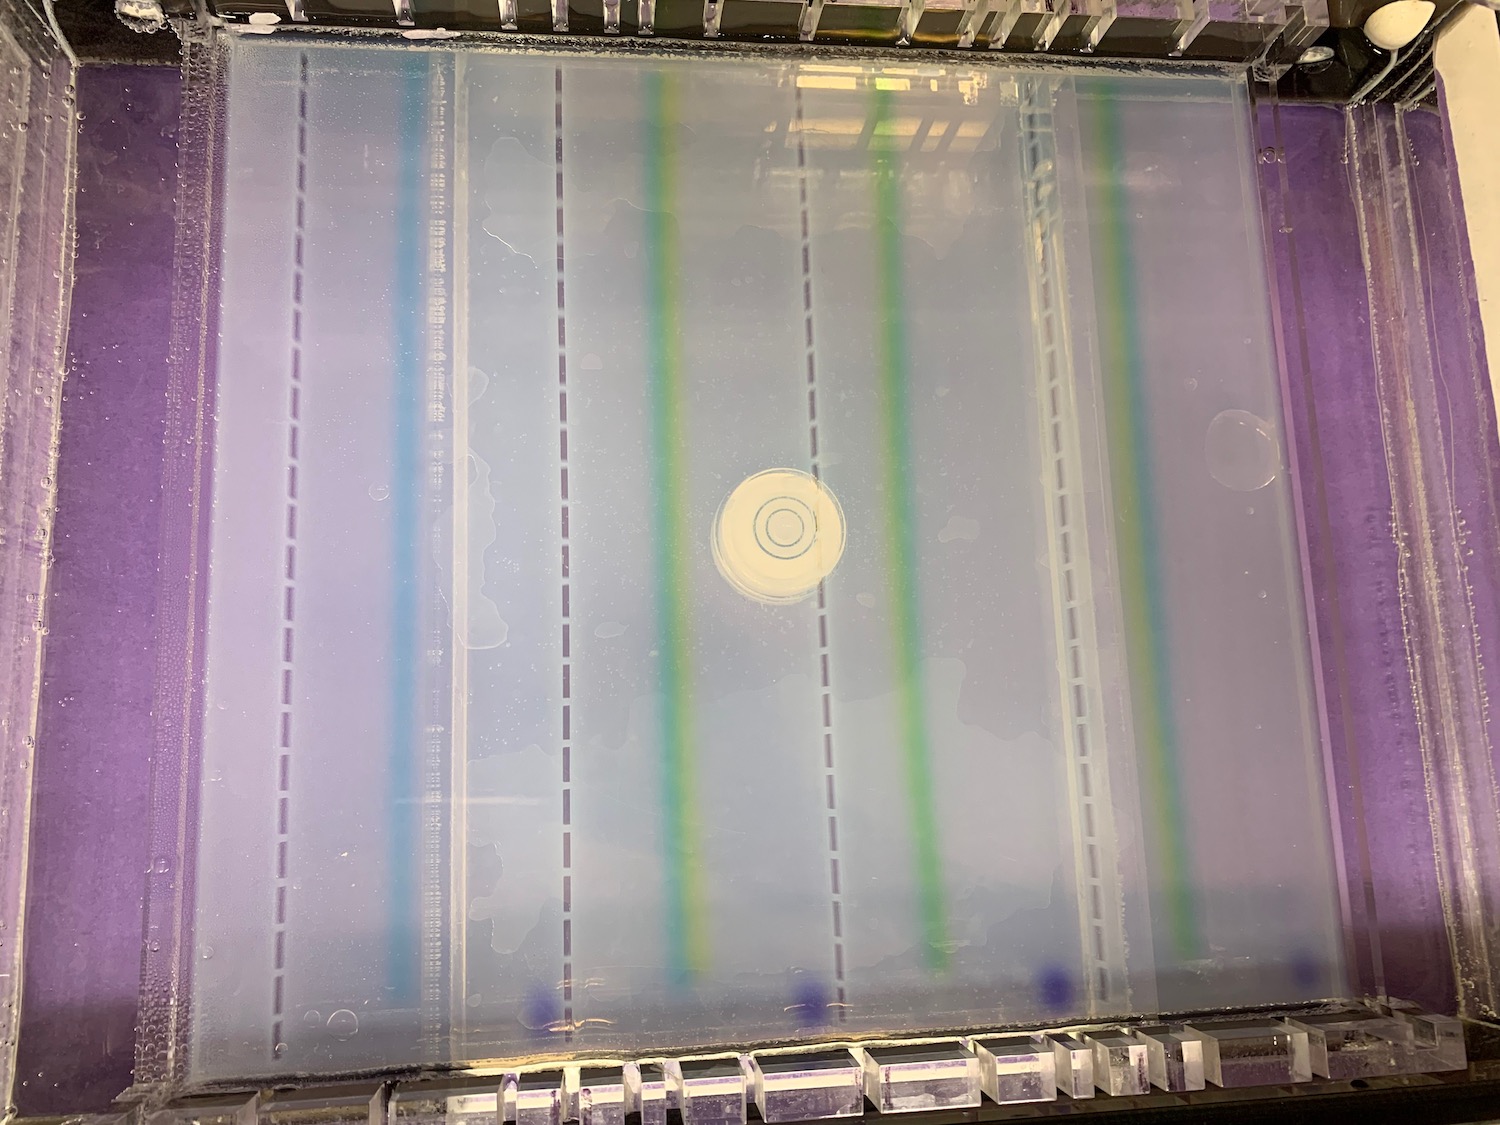
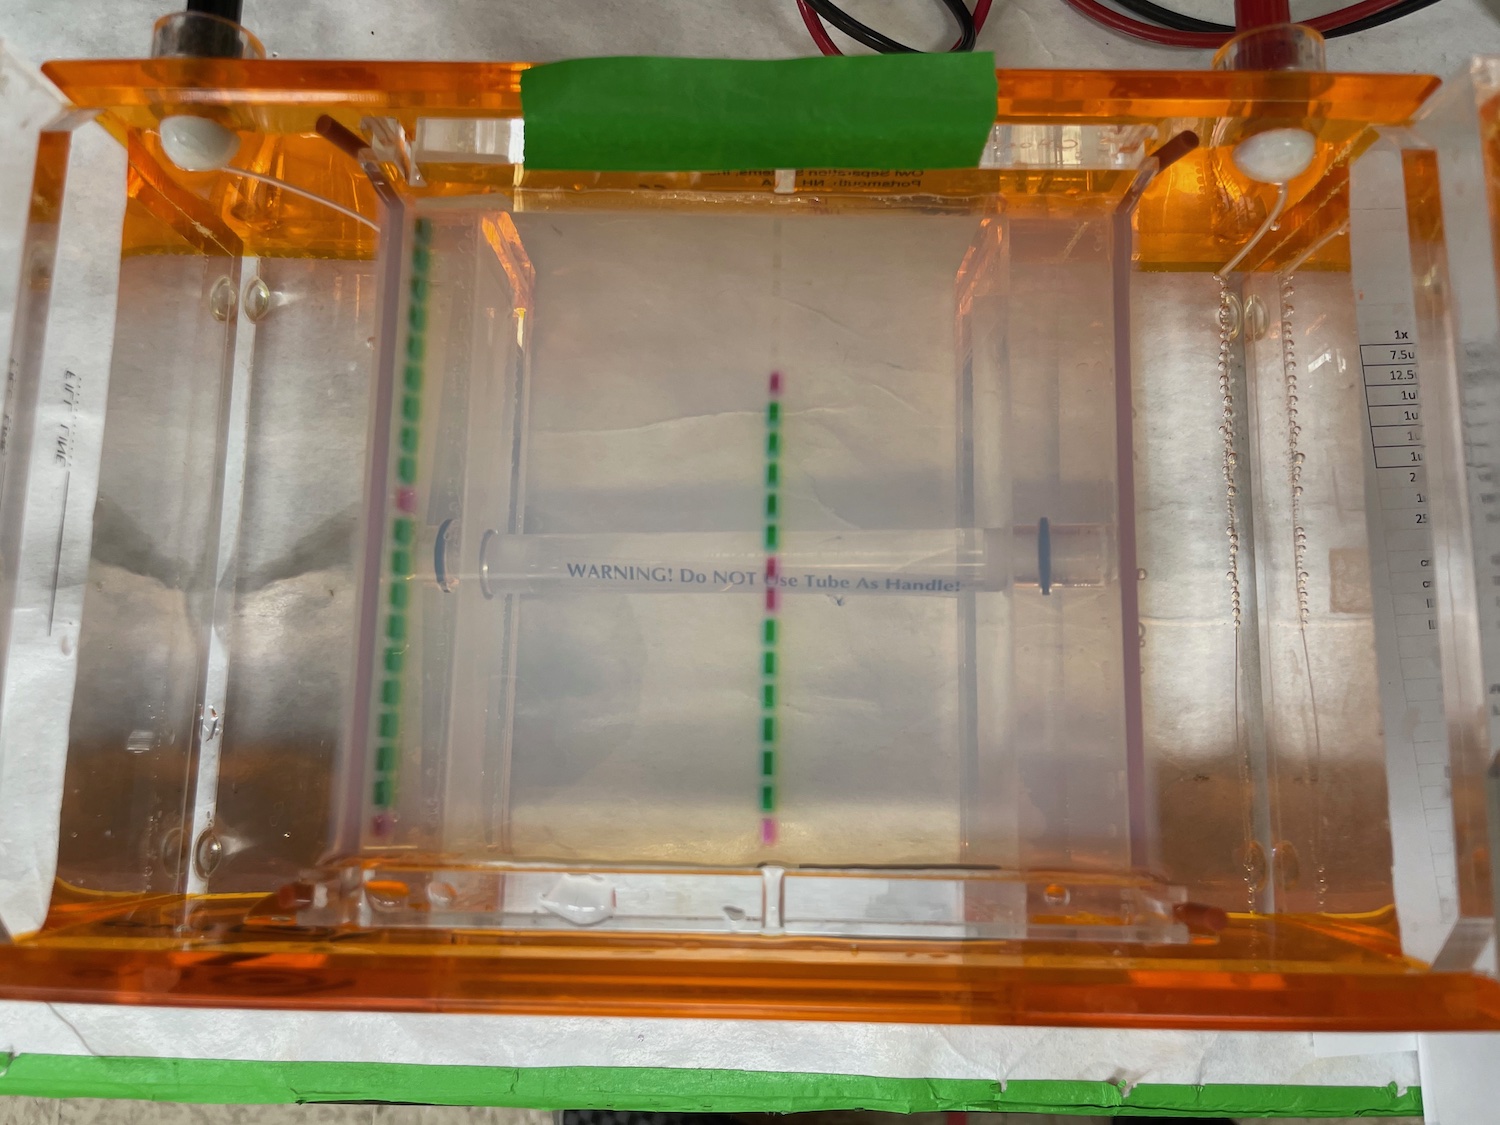
- A gel box w/ combs
- A multi-variable power-supply with leads (I don't repurposing one not designed for this use)
- A vortexer (for mixing up your samples)
- A dry incubator
- A 1.5 mL tube rack
- A dedicated microwave (not used for food)
- Two food-grade containers for ethidium bromide developing baths
- An electric stirrer/heating plate
- A computer, imaging box w/ camera and UV light, and Sony CareStream printer or equivalent
- A box of nitrile gloves
- A bucket with lid (for disposing of toxic gels)
- Supplies:
- A tail lysis buffer/sample lysis buffer (in the case of higher biosafety level and human communicable agents, for instance COVID, it is recommended to heat-inactivate the same before handling/use)
- Promega GoTaq Green, DreamTaq, or any other 2x master mix of your choosing
- NFH2O (nuclease-free H2O)
- TAE: Trisbase, glacial acetic acid, EDTA (or purchase pre-made 50x, or 1x; if performing dilutions of 50X, you will need minimally deionized/purified water - I don't recommend tap water)
- Ultra-pure agarose (or make your own)
- ethidium bromide (powder, or already target/mixed stock concentration of 10mg/mL)
- Clean 1 L bottle w/ magnetic stirrer bar (for preparing 50xTAE)
- Another 2L clean bottle
- A sample of DNA: usually in the form of mouse: tail, or ear-punch in an animal research setting; or saliva, tissue/blood sample from a subject/patient in a clinical setting.
WARNING: ethidium bromide as a reagent intercalates DNA, meaning it binds to DNA (including your own!) and is therefore a known mutagen! For this reason, exercise extreme caution when working with it, or better yet use something less toxic, like SYBR green, instead. Unfortunately, since I have never worked with the SYBR reagent, I cannot provide directions on its use as a substitute for ethidium bromide to get your gels to illuminates.
Let's begin with the concepts first, as it helps immensely to understand why qualitative PCR along with gel electrophoresis is still useful to this day, even if quantitative PCR is taking over most of the market.
Concept
Polymerase chain reaction (PCR) involves creating a reaction mixture that consists of the following: a forward and reverse primer, a heat-activated taq enzyme (which copies the sequence), glycerol (later allows samples to sink in water and into the wells), base pairs, MgCl, and nuclease-free H2O (to lower the viscosity and enhance the performance of the reaction).
The core components of the reaction are: denaturing, annealing, elongation/extension - each correspond to a temperature, or certain cycle of the thermal cycler program's programming. When you denature DNA, you heat it to 95C for several minutes. This unwinds the DNA, making the basepairs of each side of the double-helix accessible to the reagents in order to make copies, in the event they are present. The annealing is the step that allows the primers to attach (which is usually a lower temperature). And finally, elongation/extension is the step of the polymerase moving down the sequence and making a copy (again, only if this specific sequence is present).
Both the forward and reverse primers work together specifically, in a lock-and-key way. You can imagine the original DNA sample/sequence is the lock and if the key matches the specific lock, copies of this sequence are made.
Which segues into the final point: you must first consider what makes up a band in a gel. This concept will come up later, when analyzing gels. But for now, realize that when you image a gel and no band is present, it can mean one of two things, either: (1) the organism doesn't have a matching complimentary sequence to the primer, or (2) there wasn't enough starting material, there was too much starting DNA, or something else went wrong with the reaction. When a band is present, but it's light compared to others, it could be due to individual differences in the concentration of the DNA starting material, or if the difference is between multiple-bands of a single-reaction (multiple primers), each primer may have different efficiency and the reaction and reaction conditions may need to be further optimized. Finally, if all of your bands are strong, but you have a ghost trail of the band as it moves down the gel, then there is unspecific binding, which in turn points to too much DNA. And finally, if you find a band below your smallest product band that is light/fuzzy, right around < 100 bp, this is known as primer dimer. It means you have an excess of primers and they are sticking to one another; typically this does not need to be addressed, but if you wanted to, you could lower the amount of primer used.
Let's cover
Coming soon~!


